I figured this would make a good first post since it is the start of something new.
Recently, as-in within the last couple of months, I built a new computer for myself. I thought I’d go through the steps of building it, and give some helpful hints.
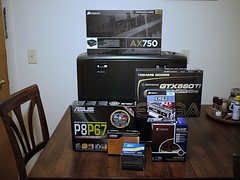
I ordered almost all my parts from NewEgg.com, and my heat sink from Amazon.com.
The parts for my machine were:
- Crucial RealSSD C300
- Corsair XMS 8GB
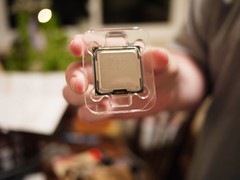
- Intel Core i-5-2500 Sandy Bridge 3.3 GHz
- Corsair Professional Series AX750 750W
- GeForce GTX 560 TI
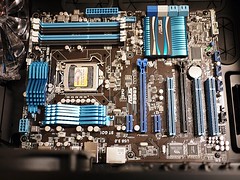
- Asus P8P67 Intel Motherboard
- Noctua NH-U12P SE 2 CPU Cooler
- Corsair Graphite Series 600T Black Steel (Mid Tower)
Grand Total Cost: ~$1200
After a few days of being very impatient all my parts arrived, and were ready to be assembled.
The first step was to unbox the Corsair Graphite Series 600T Black Steel case. (Mid Tower size) I had seen it at the Penny Arcade Expo East this past March, and really liked the design.
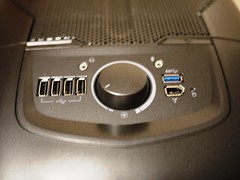
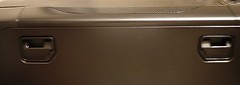
The front panel is pretty nice, although I never use it, and the side panels have these sweet little handles for easy access. Also, all the mesh fan coverings come off for easy cleaning.
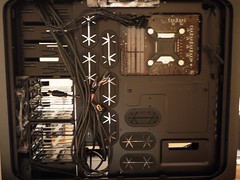
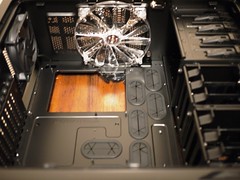
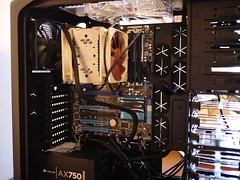
The other big selling point on this case for me was the cable management. It has become really popular in the last few years to allow the “back” side panel to come off, and to have openings in the back allowing the piping of cabling. In my opinion, I think this is a great design move. Here’s a shot of the 600T’s cable management back. (This shot already has the motherboard installed.)
Here’s a shot of the “front” inside. Notice the easy to swap drive bays.
As far as actual assembly goes, I installed the motherboard first, and then put in the processor. I have very shaky hands (if you can’t tell from the photos) so I actually had 8-bit Husband take care of that for me. (Thanks Honey!)
This is the motherboard with the processor inside.
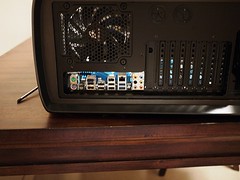
This is actually a pet-peeve of mine, but the crappy (surprise, surprise) back plate didn’t fit. It’s not the end of the world, especially since I never see it, but it drives me crazy!
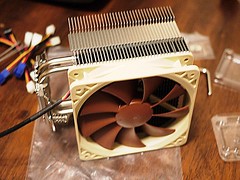
Next I put the Noctua heat sink on with a dab of Artic Silver. Remember, if you mess up, use rubbing alcohol to clean-up ALL of the thermal compound. Then try again.
Ironically, it took me almost an hour and a half to get the “easy” to clip-on fans attached to the heat sink.
After doing some digging I found that I actually put the fan clips on WRONG! For those who want to do it right, you just shove the folded metal parts of the clip into the holes. That’s it. (More detail here on the Noctua site.)
If you are like me, and totally paranoid I found that you can put part of the clip through the hole, and if you put it in the opposite direction (so the other end of the clip looks like it is hanging off) then swing it around, you get an incredibly secure lock. (Unfortunately, I don’t have any pictures, and it is not easy to describe.)
Either way, I am super happy with how quiet my machine runs, and although the fans run a bit slower, my machine still runs very cool.

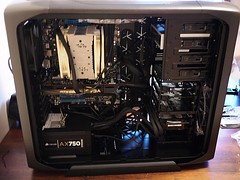
Next I installed the power supply, and did some cabling. You can see the handiness of some of the cable routing stuff.
The final steps was to install the hard drives (one SSD for the OS, and one for program files, and other files), memory, and the graphics card. Here’s a final shot of the inside.
My final hardware related step was to put it on my desk. The case is actually larger than my old one, and was bigger than I was expecting. That being said, the sacrifice of the case being bigger to get cable management is worth it in my opinion.

*Yes, I own a 3DS.